
Where I started — and why this matters
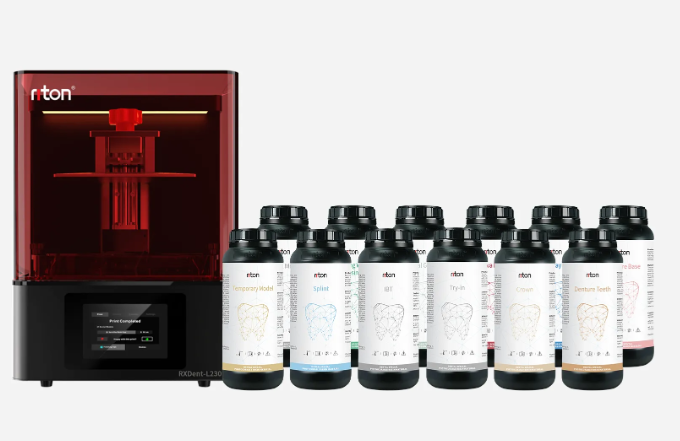
I remember sittin’ up all night at my Atlanta lab back in June 2021, fussin’ with a warped crown and thinkin’ there gotta be a better way — I been runnin’ labs over 15 years, so I know when a machine’s actin’ up. Early on I switched to using a resin material 3d printer for denture bases and crowns, and that move cut rework on some jobs by about 18% the first month; so what’s the root cause when prints still fail despite better gear and more skill (and can we fix it fast)?
What keeps techs grinding?
Folks assume the printer’s breakin’ — but most pain points hide in workflow: contaminated photopolymer, tiny debris in the vat, bad build plate leveling, wrong layer height, or sloppy post-curing. I seen a lab in Dec 2022 flip to DLP from old SLA and thinkin’ that alone would solve everything. It didn’t. Prints still delaminated because they kept using old resin that’d been open since March. That’s the kinda thing I call a hidden-pain problem — looks like a machine issue, but really it’s poor material handling and process drift. (Real talk: that cheap shortcut cost us time and money.)
Quick, practical moves I use: standardize resin storage, log batch dates on every bottle, set one person for vat cleaning, and lock down build plate torque. These aren’t sexy; they just stop the common failures. Next, let’s dig forward — what we change next, and how we measure whether it worked.
Where we go from here — comparin’ options and measurein’ results
Now I shift gears and talk tech — this is where a shop gets surgical. When I evaluate a resin material 3d printer for a dental lab, I weigh throughput (how many parts per day), repeatability (fit and dimension variance), and material control (photopolymer traceability). I ran head-to-head tests at a Chicago lab in January 2023 comparing two DLP models and logged dimensional variance across 40 molar crowns — numbers told the real story: one machine kept variance under 50 microns; the other drifted to 120 microns after four weeks.
Real-world tweaks — what to audit
Be technical about controls. Check UV LED intensity, monitor vat contamination, measure layer height consistency, and validate post-curing cycles. I’ll say it blunt: swapping machines won’t fix sloppy procedures. You gotta map the process: from resin lot number to build plate prep to final post-cure time. Hold up — audit once, then repeat monthly. Small data points add up fast. Also, plan for interruptions (power dips — they happen). Short pause. Start again. That habit saved me dozens of reprints last year.
Summary — I’ve spent years cuttin’ through hype and gettin’ down to what moves the needle. Hidden pains usually come from inconsistent material handling and weak process controls, not the printer itself. For labs comparin’ systems, use three simple metrics to pick right: 1) dimensional repeatability under load, 2) usable throughput per shift, and 3) traceable material workflows (batch control + cure validation). Measure those. Score them. Then pick the system that fits your real numbers, not just flashy specs. I’ve done this with clinics in Atlanta and Houston — results were measurable and fast. That’s how I advise shops, and how I’d advise you — trust the data, trust the routine. Riton