

Opening comparison: why horizontal sometimes wins
When you stack a custom horizontal injection molding press next to a cobot cell, the conversation shifts from theoretical to practical fast. I’m talking about cycle time trade-offs, part access, and how a vertical rubber injection molding machine often gets pitched as the default. This piece compares the horizontal approach with vertical alternatives across real integration scenarios—so you’ll see clearly where horizontal molding makes sense for robotic overmolding lines and where it doesn’t. Expect talk of overmolding, cycle time, and clamp force without the fluff.
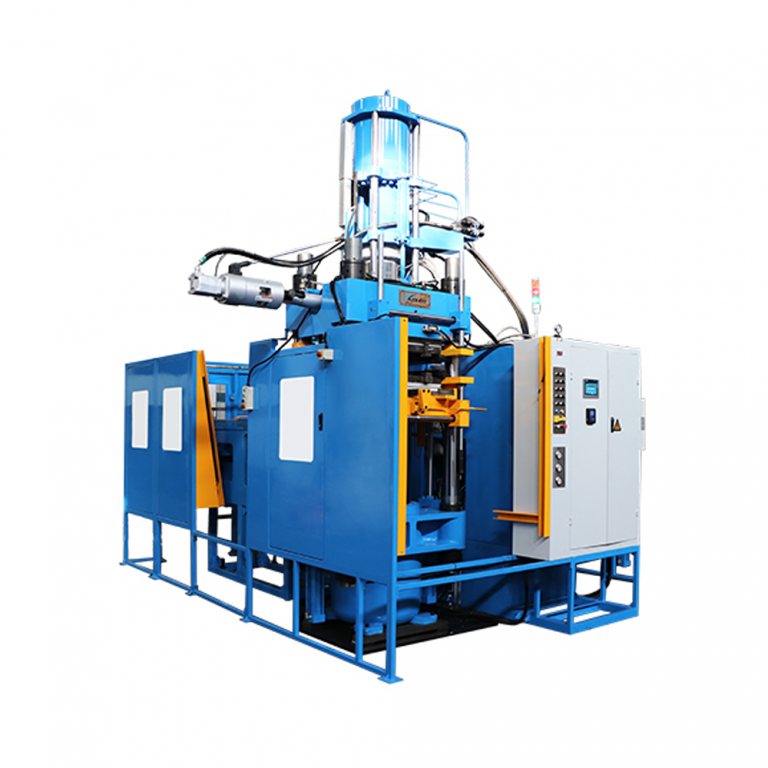
Head-to-head: throughput, footprint, and handling
Horizontal presses tend to be friendlier when robots need straight-line access to the part. A horizontal platen and side-entry parting give a robot predictable trajectories and easier gripper setups. That matters when you’re optimizing for cycle time and reducing pick-and-place errors. Vertical machines can be compact and good for insert molding, but they often complicate end-of-arm tooling and reach—especially on multi-cavity tooling.
Real-world anchor: lessons from the assembly floor
On a tour through Detroit assembly areas, I watched a hybrid line run panels with a horizontal press feeding a pair of FANUC robots—steady cadence, low scrap. The real advantage showed up during a changeover: tooling swaps took minutes, not hours. Seeing that in person made the trade-offs tangible—horizontal layouts can simplify robotic end-of-arm tooling and reduce collision zones, which translates to fewer stoppages and clearer safety zoning.
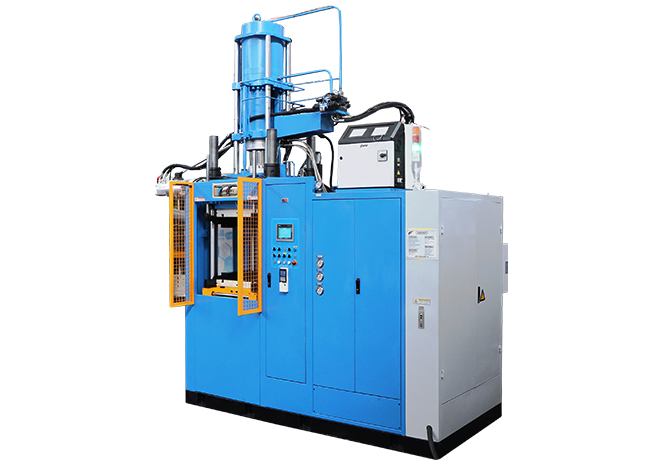
Integration pain points and fixes
Start with the three integration hotspots: part presentation, indexing, and shot consistency. If the robot is blind to part orientation, you’ll lose efficiency. Use simple pick fixtures or vision-guided nests to present parts consistently—less thinking for the robot, fewer retries. Cycle time variance is often a symptom of inconsistent shot size or poor thermal control; fix the molding process first, then tune the robot. Also watch clamp force and cavity balance—imbalances show up as flash or short shots after automation is added.
Common mistakes teams make—quick checklist
– Treating the robot as a retrofit instead of co-designing the cell. – Underestimating part-change ergonomics—access for maintenance matters. – Overcomplicating end-of-arm tooling when a simple mechanical nest would do. Address these early. A straightforward mechanical nest often beats a fancy adaptive gripper for repeatable overmolding tasks—less maintenance, more uptime.
Comparative tooling and control strategies
Horizontal presses pair well with modular tooling that lets you swap cavities and adjust shot size rapidly. When you design tooling for robot access you reduce cycle jitter and improve quality. On the control side, synchronize press and robot states via a PLC or EtherCAT network to shave milliseconds off handoffs—this reduces dead time between shot and pick, and keeps cycle time tight.
Alternatives and when to pick them
Vertical molding and pick-and-place gantries still have their place: small parts, insert molding, or facilities with restricted floor space. But when your priority is high-speed overmolding with easy robot access, custom horizontal machines often win. If floor space is tight, consider a hybrid—short-throw horizontal presses or vertical presses with automated part-dumping that mimics side access. Either way, match the press architecture to your process, not the other way around.
How HWAYI fits into the picture
HWAYI’s lineup includes machines that prioritize accessible platens and repeatable shot control—perfect for straight-line robot pick zones. For teams that want a middle ground, the rubber vertical injection machine often serves as a solid choice for insert-heavy runs while HWAYI’s horizontal units shine where robotic overmolding is continuous. That balance—process-first machine design plus straightforward automation hooks—cuts integration time and gets parts running sooner.
Advisory: three golden rules for choosing the right path
1) Metric-first selection: Prioritize cycle time consistency, not just peak speed—measure average cycle variance over 100 cycles. 2) Robot accessibility index: Score candidate machines on robot approach vectors and fixturing simplicity; pick the one with fewer collision zones. 3) Process readiness: Verify shot stability (thermal, shot size, and cavity balance) on the press alone before committing to robot thermal cycles.
These rules point you to machines and setups that actually behave on the floor, and that’s where HWAYI’s design choices start to pay off—because their platforms make those metrics easier to hit. HWAYI. —