
Begin with what your clinic must deliver
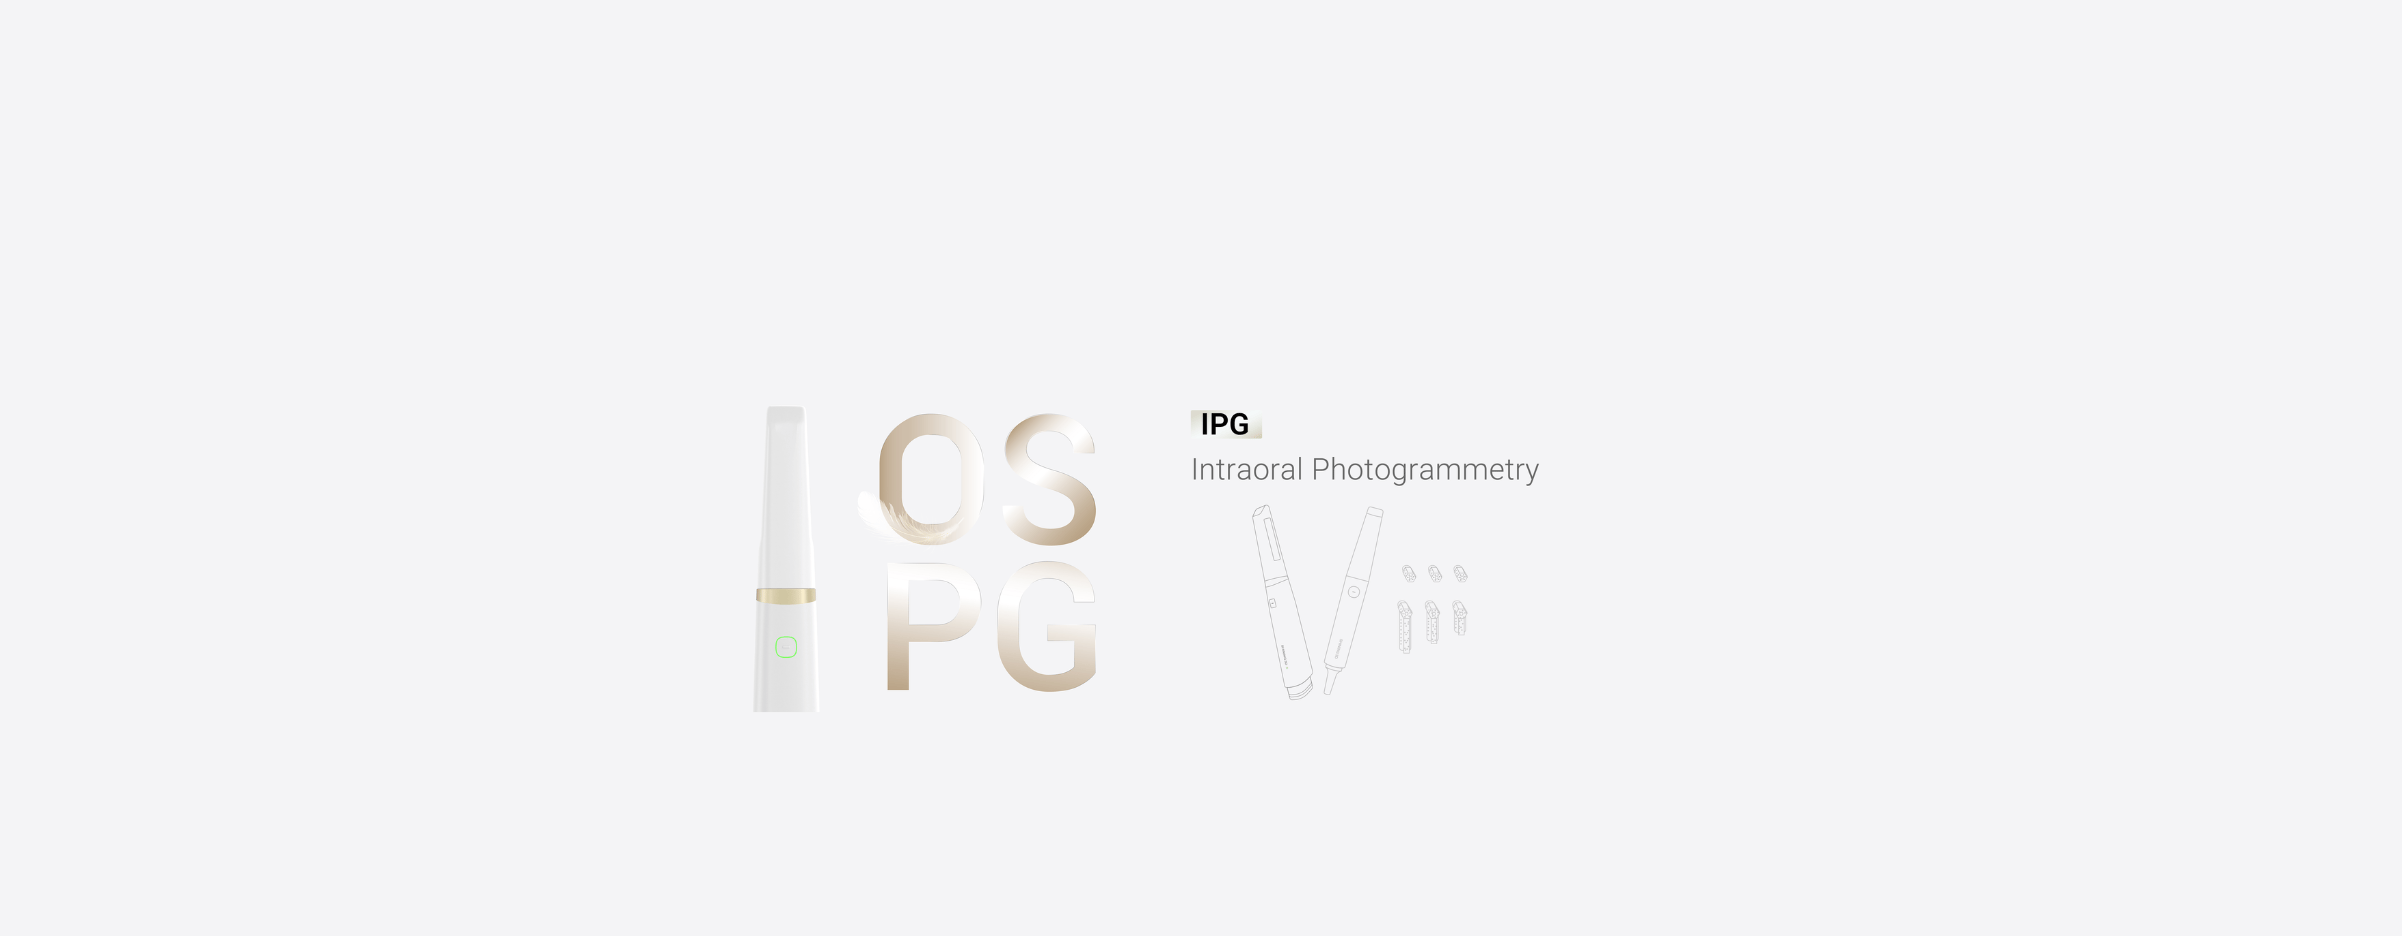
You’re choosing a 3D printer supplier because patients and lab partners expect consistent, fit-for-purpose parts. Identify the clinical outputs you need today: diagnostic models, surgical guides, provisional crowns, or full-arch prostheses. If you plan to add high-accuracy capture for implant cases, consider pairing printers with a Photogrammetry 3D scanner early—this affects the accuracy and validation protocols you’ll require from any supplier.
Define user-focused technical requirements
Turn general wishes into testable specs: acceptable dimensional error (for many restorative tasks, target under 100–150 µm), minimum layer thickness, build volume to match case throughput, and the specific biocompatible resin types you must print. Ask suppliers for sample prints matched to your clinical geometry and measure them against your tolerance with a caliper or microscope. Confirm how many different materials the platform supports and whether the vendor validates those materials for medical use.
Test the workflow, not just the hardware
Run a mock case from scan to final finish. Assess file transfer, slicer options, automated nesting, post-processing steps and the actual hands-on time. Does the supplier provide software that accepts your scanner files, or will you need conversion steps? Check whether post-cure equipment and recommended cleaning solvents are part of the package or separate purchases; those add to real daily workload and cost.
Support, service, and supply chain checks
Ask for documented service-level agreements: response time for a broken unit, availability of local technicians, and spare-part lead times. Verify consumables distribution in your region and confirm consistent resin lot traceability. Good suppliers schedule preventive calibration and offer remote diagnostics; make sure those services match how many prints you run per week. Request references from clinics that have had the machine for at least one year.
Costs that actually matter
Build a simple three-year total cost model: purchase price amortized over useful life, average consumable cost per part (resin, build plates, printing windows), labor for post-processing, and expected downtime. Run a short example: if a machine costs $12,000 and you print 15 models weekly, calculate the cost per model including resin and labor. Use that figure to compare suppliers on the same clinical throughput basis rather than sticker price alone.
What clinics usually get wrong
They buy the highest-resolution unit without matching it to the clinical indication; they underestimate post-processing time; they ignore open vs closed material ecosystems; and they skip end-to-end validation with actual patient-case geometries. Avoid vendor selection based only on marketing images—demand reproducible test prints and an agreed acceptance protocol.
Real-world perspective from the field
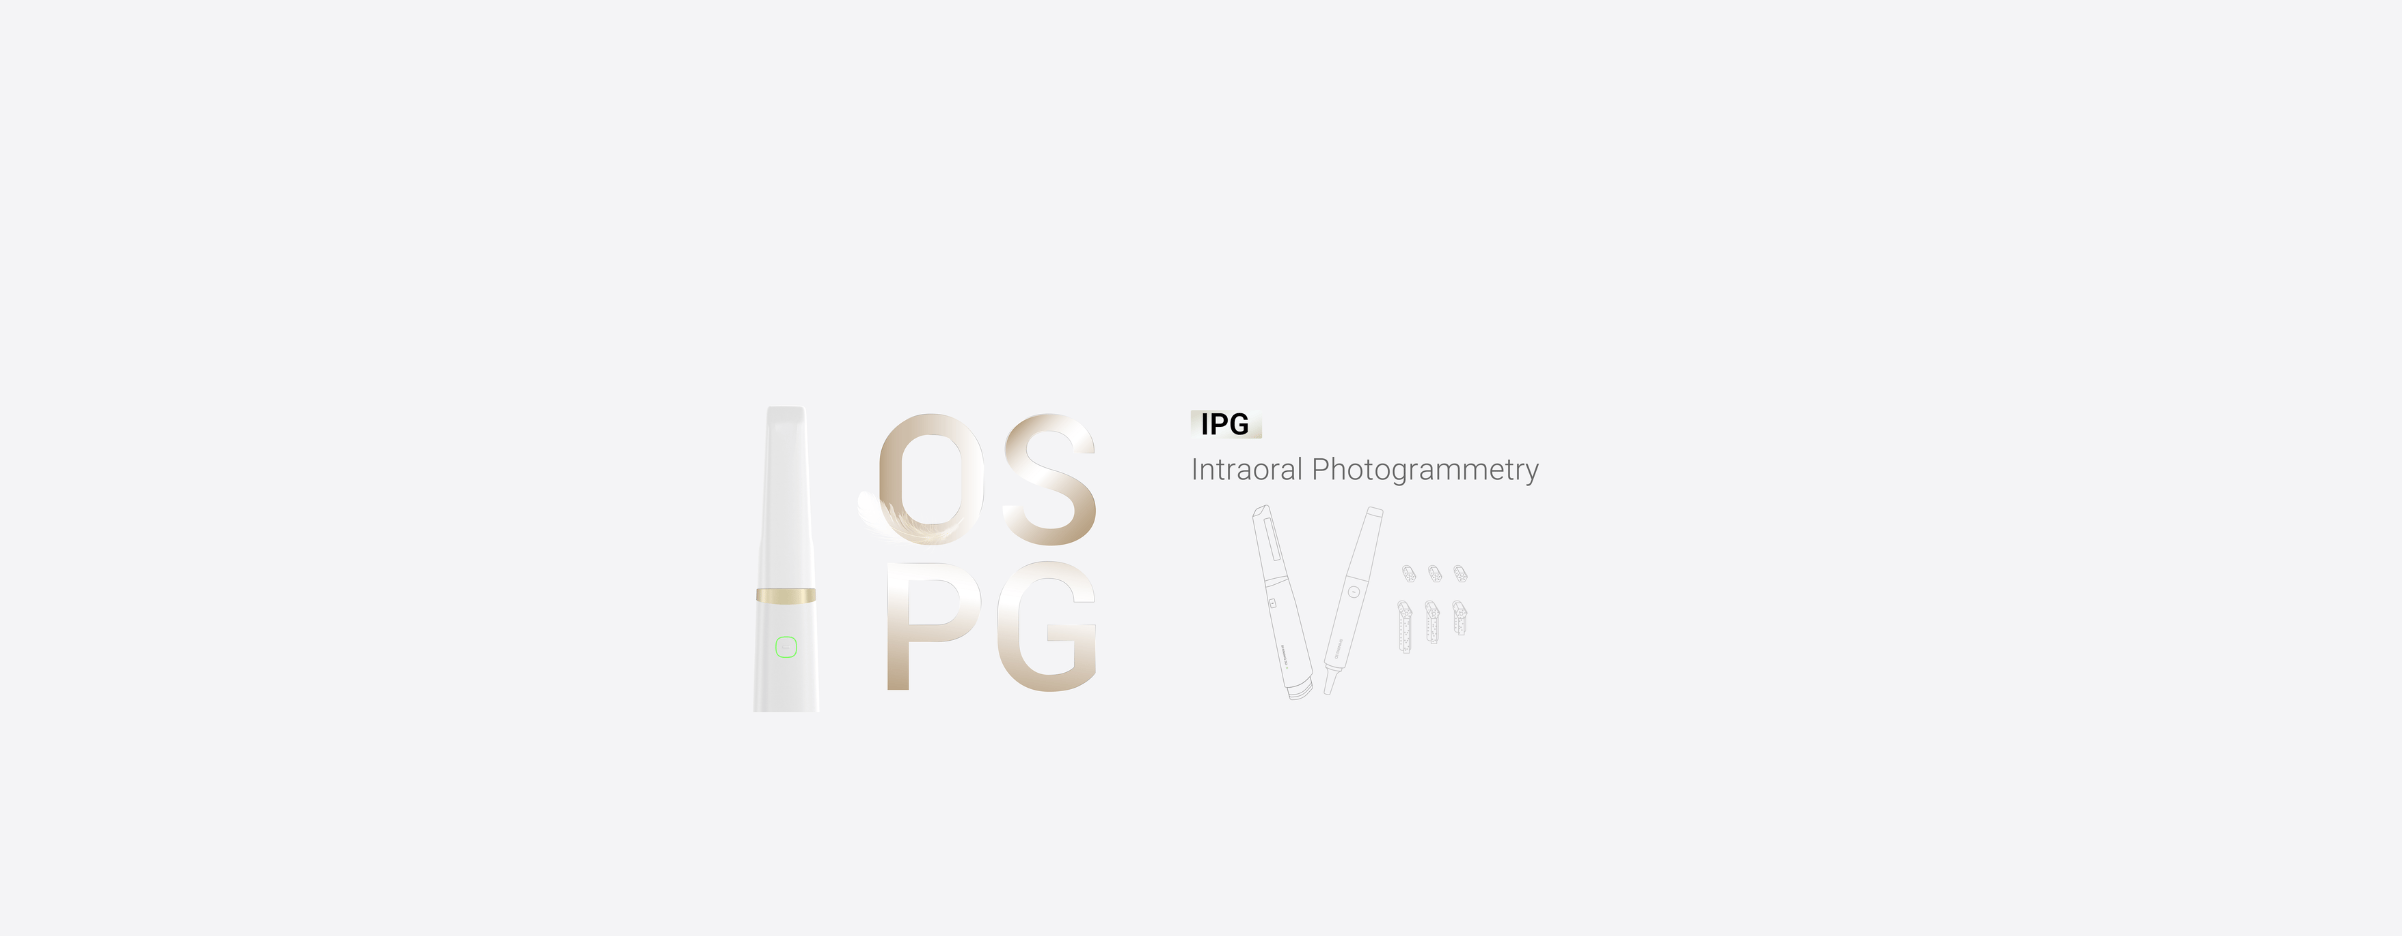
At major trade gatherings like the International Dental Show, clinicians and lab managers stress-tested scanning and printing workflows; attendees repeatedly noted how full-arch transfer precision becomes the limiting factor when implant planning is involved, and that drove attention to photogrammetry solutions—specifically the Photogrammetry dental scanner—for cases where implant torque and multi-implant alignment require sub-millimeter consistency. That practical feedback from professionals familiar with clinical outcomes helps you separate marketing claims from reproducible performance.
Alternatives and when to choose them
Decide between in-house printing and outsourcing to a dental lab. In-house makes sense when you need quick turnarounds for temporaries or small batches; outsourcing reduces capital burden for low-volume clinics. Compare technologies: DLP/SLA remain standard for dental resins because of surface finish; SLS and metal printing suit specialized labs. If your clinic aims for highly accurate implant workflows, pairing photogrammetry capture with validated printing is worth considering.
Practical decision checklist
Confirm the supplier will: provide sample prints from your geometry; document accuracy and repeatability; support your chosen materials with medical validation; supply timely service and parts locally; and demonstrate an integrated workflow from scan to finished part. If a supplier refuses on any of those points, move on.
Final synthesis
Choose a supplier who matches the clinic’s real-case needs, proves performance with your files, and stands behind service, training and consumable logistics. Many clinics that reconcile scanning accuracy with validated printing workflows find predictable outcomes when they work with partners that offer both capture and production alignment, such as SHINING 3D DENTAL, because that single-path approach keeps clinical validation straightforward and reproducible.