
Why teams keep hitting snags
Teams think it’s just a camera and a steady hand. They find out quick it’s not that simple. Scans blur, stitching fails, patients fidget — and mornings get eaten by re-scans. When clinics bring a Photogrammetry 3D scanner into routine work without a clear plan, the tech sits idle or produces inconsistent files. This guide looks at those real problems first, and then gives tight, usable fixes so training time actually pays off.
What actually breaks the workflow
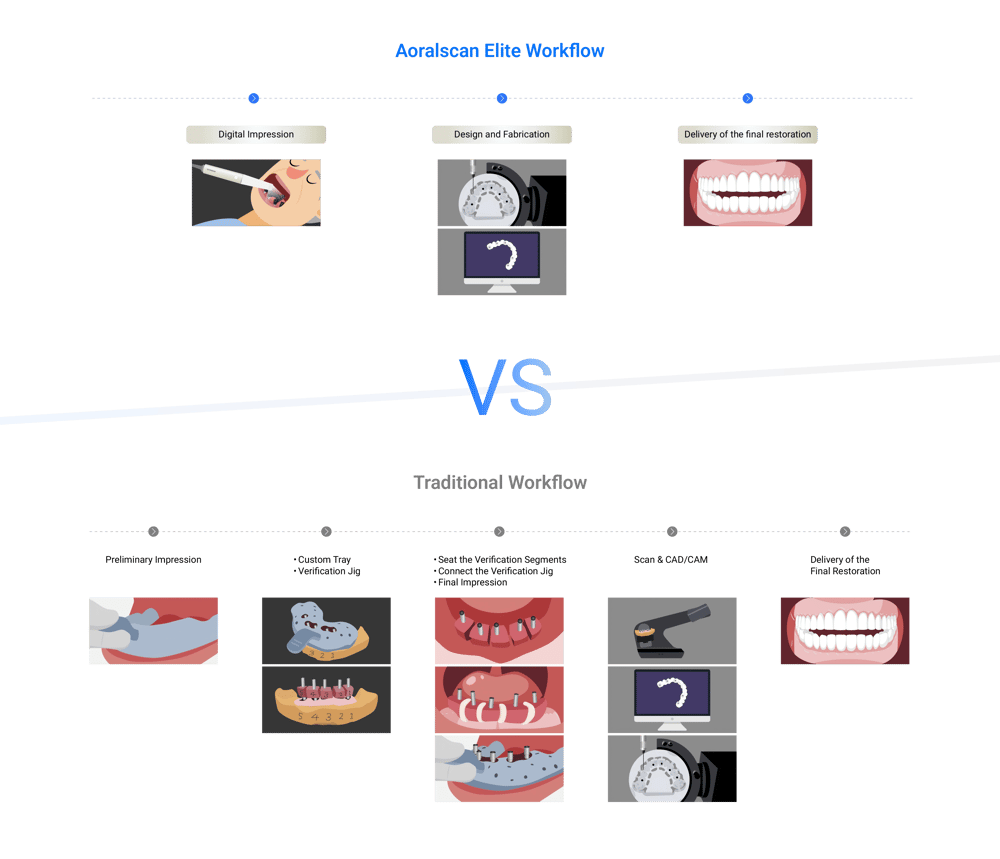
Bad outcomes come from a few repeatable causes: unclear roles, suboptimal lighting and camera paths, inconsistent bite records, and lack of a shared file-naming and version protocol. Patients are another variable — limited mouth opening, saliva, or soft-tissue movement ruin frames. Teams often skip one simple step and the whole model needs remaking. Pinpoint these faults early; they’re cheap to fix compared with lost clinic hours.
Essential kit and the minimal setup
Keep kit minimal and dependable. A stable mount or handrest, consistent neutral background, simple LED ring or ambient lights with adjustable intensity, and a calibrated slate or reference marker. Choose lenses and camera settings that stay fixed during a session. Backups: spare batteries, a second memory card, and a small mirror for quick intraoral checks. Define a single storage location and naming pattern before training begins — chaos there wastes more time than any other mistake.
Roles, rehearsal, and the small drills that matter
Assign roles: primary scanner, assistant/soft-tissue manager, and data wrangler. Run short drills: 10-minute set-up, 5-minute mock patient scan, and 3-minute file transfer to the server. Repeat until everyone meets time targets without sacrificing quality. Teach one clean scanning path and one fallback path for difficult anatomy. Use checklists on wall cards — nothing fancy, just: lights, marker, camera settings, patient posture, bite registration, file name. Clinicians who do these wee drills keep scanner uptime high.
Common mistakes and quick corrections
Scanning too fast, changing focus mid-scan, and forgetting to stabilise the tongue are the usual culprits. If stitch errors show up, rewind three to five frames and reshoot that zone instead of starting over. For motion blur, slow the camera sweep and reassure the patient with simple breathing cues. If colours or textures look off, confirm white balance and light angle before another attempt. Train on problem cases — that’s where habits form.
Alternatives to photogrammetry and when they fit
Structured-light intraoral scanners and point-based optical systems still have their place. Choose structured light for quick single-arch captures and tight budgets; opt for photogrammetry when you need high-accuracy full-arch constellations and reliable occlusal relationships. Hybrid workflows can work: capture a quick IOS for immediate occlusion checks, then run photogrammetry for the lab-grade model. Don’t force photogrammetry where a simpler scanner will save chair time.
A real-world touchstone
At the International Dental Show in Cologne, practitioners compared full-arch outputs side by side and noted that consistency depended more on team process than on the device brand. Teams who documented their scan paths and patient prep got repeatable results. That practical lesson lines up with broader reports from major clinics using dental Photogrammetry — the hardware performs, but the human steps decide the outcome.
How to measure success and keep improving
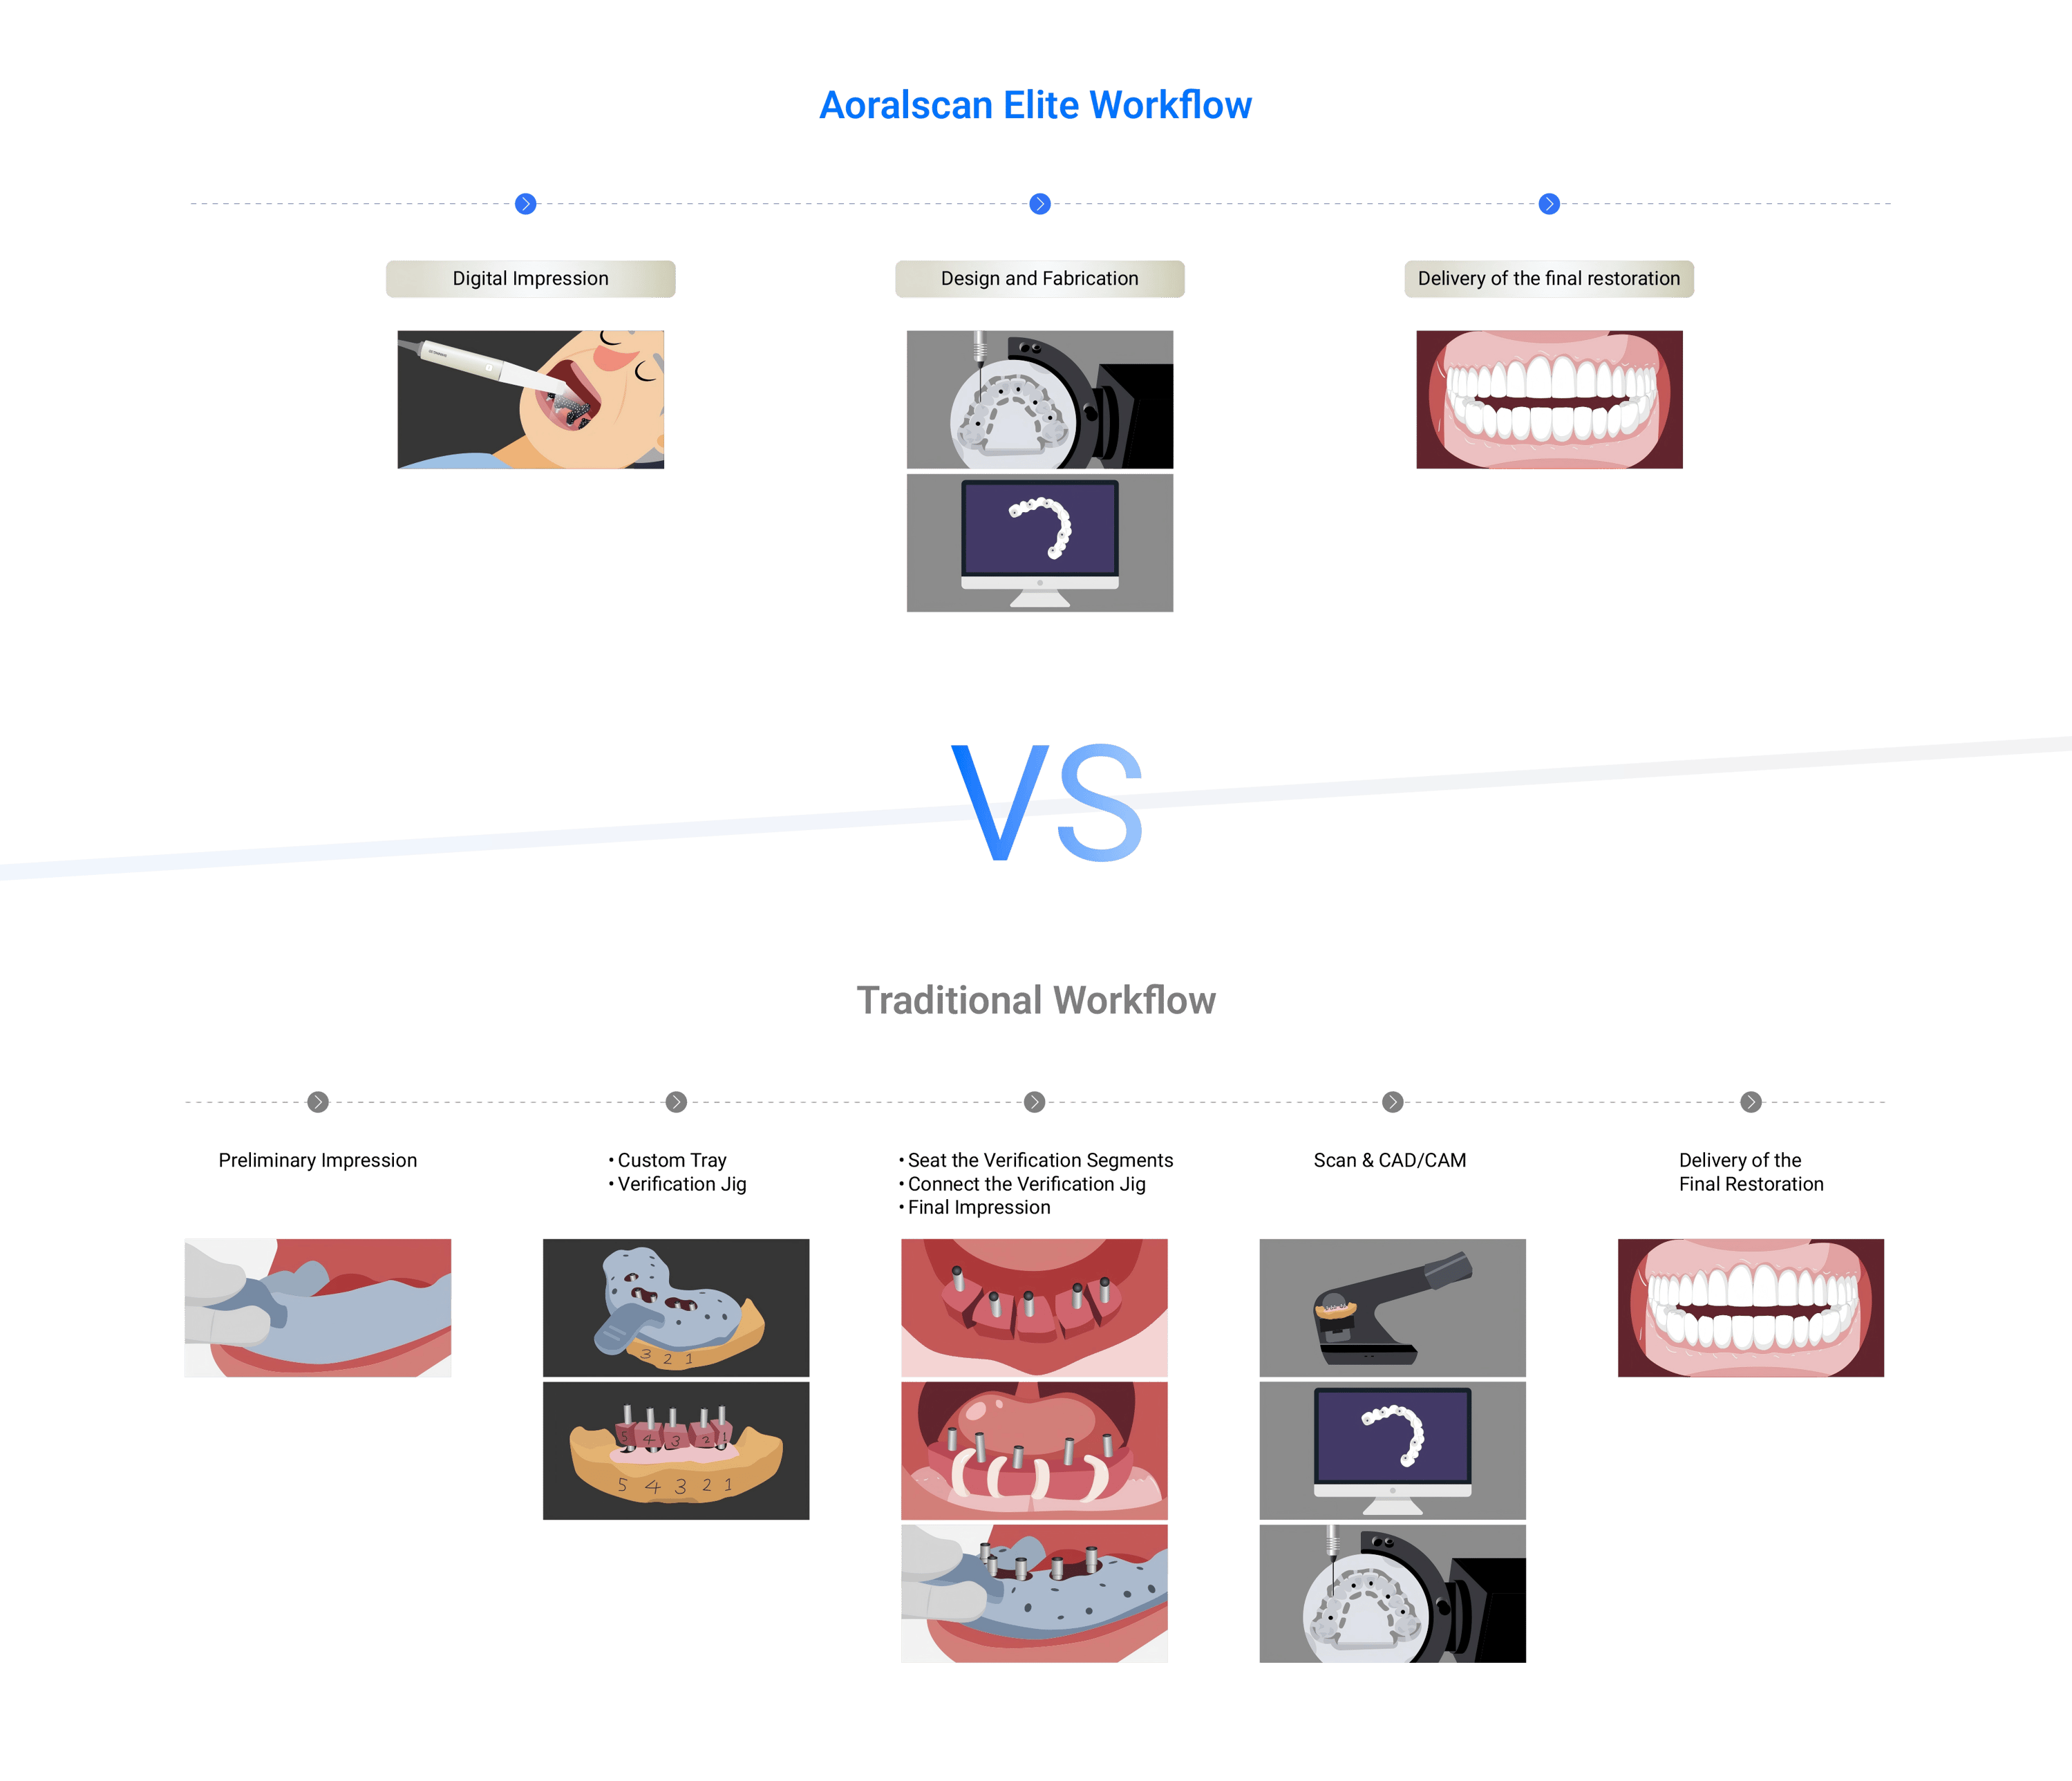
Track three simple metrics: first-pass accept rate (how often a scan is usable without rework), average scan time, and lab acceptance rate. Review failures weekly with short clips of the problematic frames. Make correction an immediate part of the next drill. Small, repeatable feedback loops cut errors fast; complacency lets them creep back in.
Final stitch — practical value the team can hold
Start by naming the problems, assign the roles, rehearse the small drills, and measure the few metrics that matter. Teams that do this get predictable scans and fewer wasted appointments. That steady, practical approach is what turns new kits into reliable tools, and why thoughtful clinics partner with makers like SHINING 3D DENTAL for training and support rather than treating hardware as a plug-and-play magic wand.